In the labyrinth of data management and data security, Azure AD Connect is a beacon of simplicity and utility. Before diving into the different components of Azure AD Connect, it’s essential to understand what it is and its purpose. Azure AD Connect is a tool from Microsoft that allows your On-Premises Active Directory Domain Services (AD DS) server to be integrated and synchronized with your Azure Active Directory (Azure AD). It effectively bridges the gap, syncing up all the valuable user data in your on-premises AD DS to the cloud.
Pre-requisites to install Azure AD Connect:
Before moving forward with the AD Connect installation, you need to configure the following four key components:
1. AD DS Server: This is the hub for your on-premises Active Directory, where all your user data is stored.
2. AD Connect Server + SQL Server Database: Setting up an AD Connect Server is crucial to ensure the process of AD DS – Azure AD syncing is smooth and seamless. The SQL Server Database serves as the storage medium for the AD Connect Server.
3. Firewall Rules: Security should always be the topmost priority. Firewall rules must be configured carefully to ensure your data safety across both on-prem and cloud environments.
4. Azure AD Tenant: The Azure AD tenant represents your company’s subscription and houses the Azure AD service where synced data is stored and where your users are defined.
After you set up these components, preparing your Windows Server AD for Azure AD Connect involves several steps including the need for Windows Server 2012 R2 or above, enabling the Active Directory Recycle Bin, running IdFix to remediate any errors, adding the corresponding UPN suffix to the Azure AD domain, and setting up a service account for synchronization.
Azure AD Deployment Methods:
Let’s turn our attention to Azure AD Connect Deployment Methods that are categorized into Express Mode and Custom Mode. These modes decide the combination of setup you have, either a scalable simple solution in Express Mode or a customizable and flexible solution in Custom Mode.
Install and Configure Azure AD Connect:
Moving on to the installation and configuration of Azure AD Connect, it conveniently comes in steps, nine to be precise, starting with customization of installation to confirmation of successful configuration. Below mentioned are the steps:
Step 1: Customize your installation.
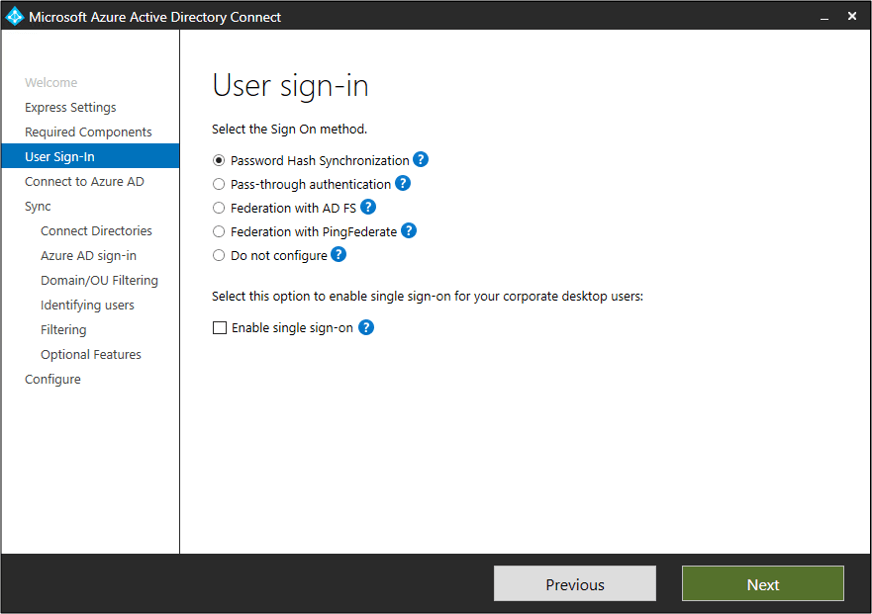
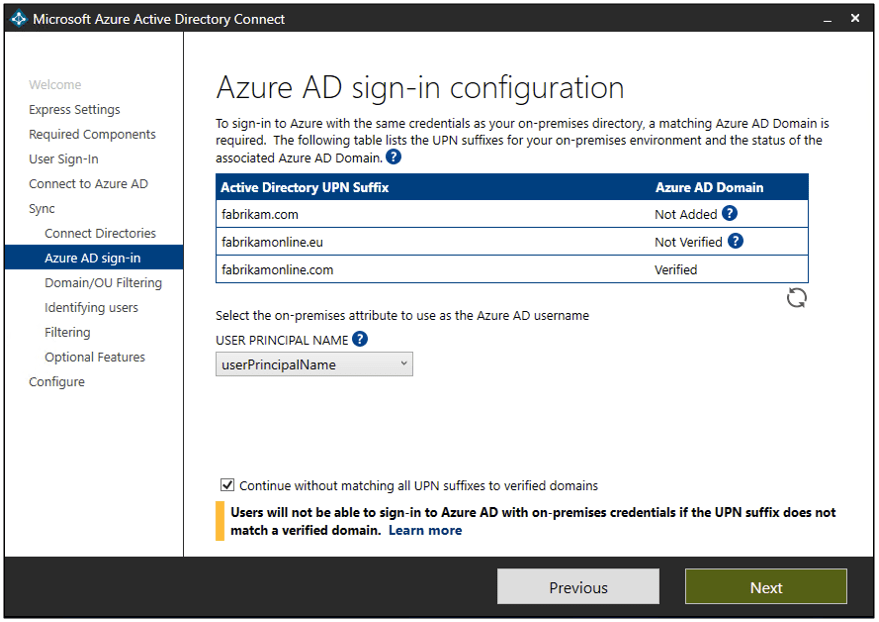
Step 2: Choose your user sign-in method and configure Single sign-on.
Step 3: Connect to Azure AD.

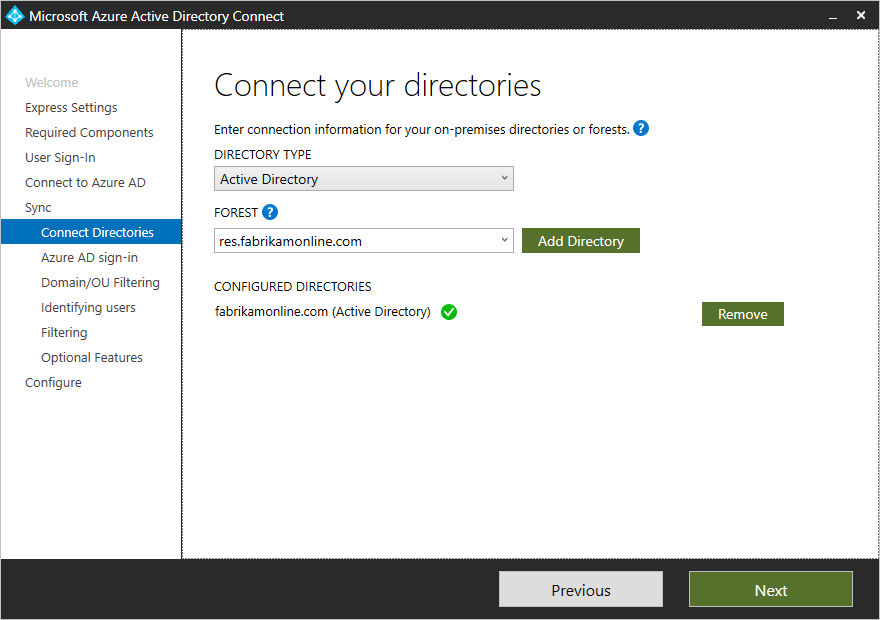
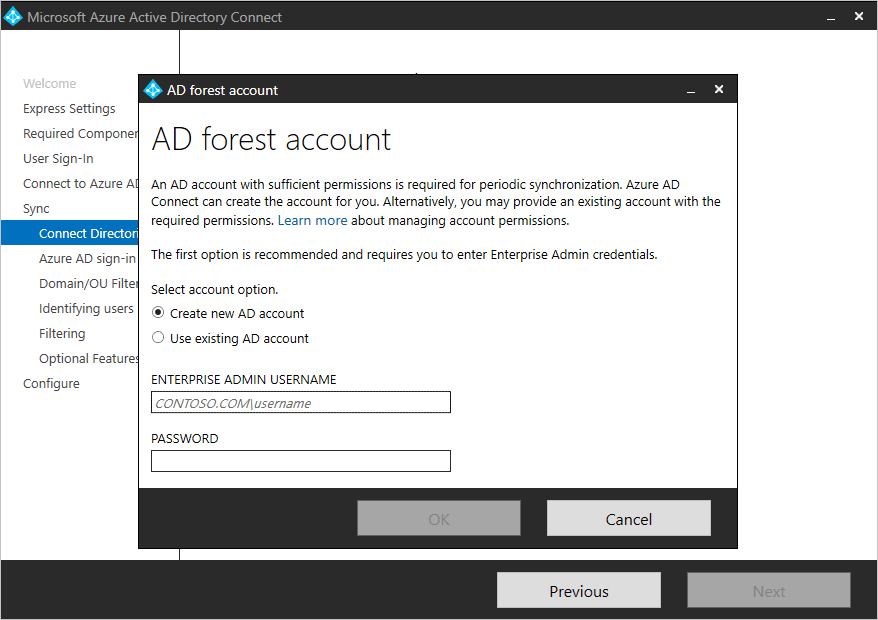
Step 4: Connect to your AD DS directories.
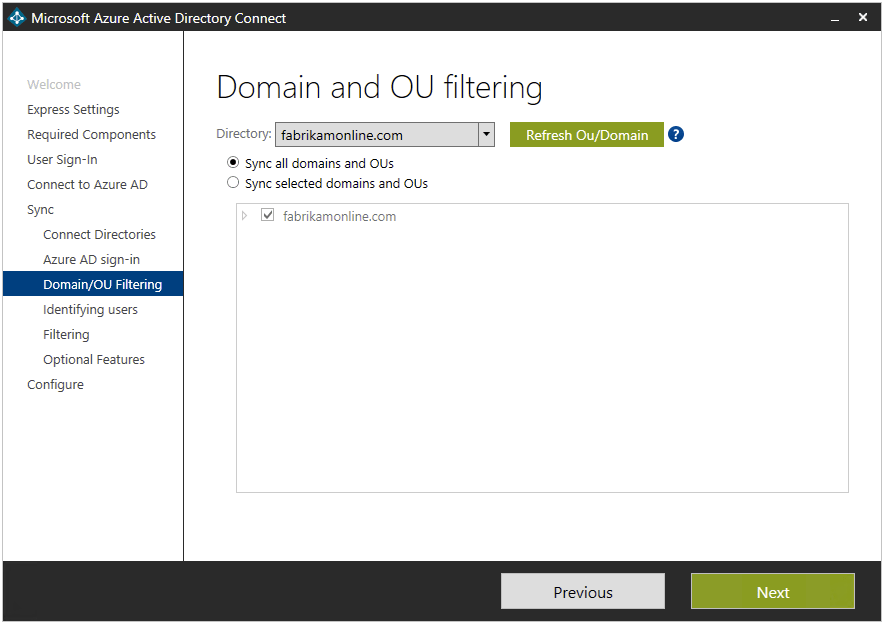
Step 5: Configure domain/OU filtering.
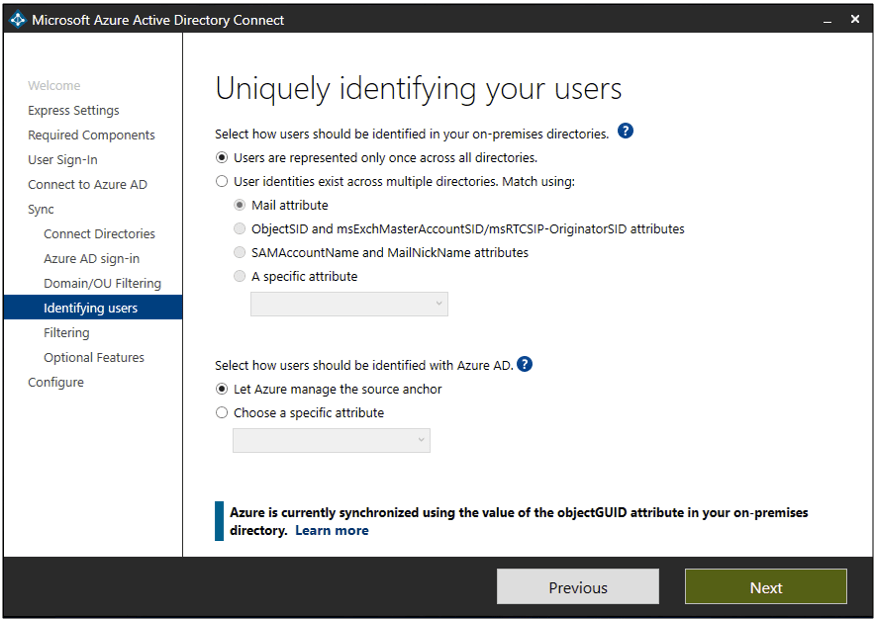
Step 6: Identify users for synchronization.
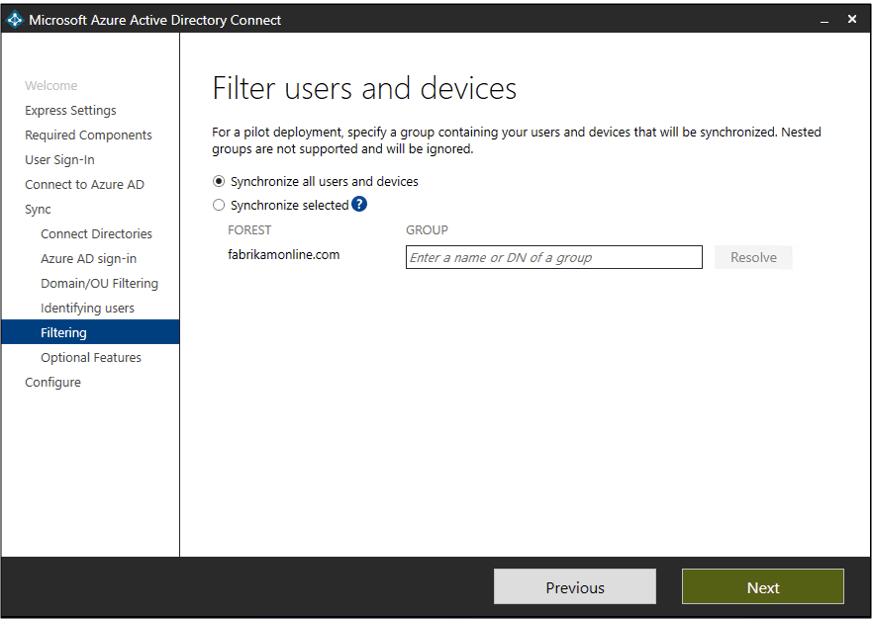
Step 7: Configure group-based filtering.
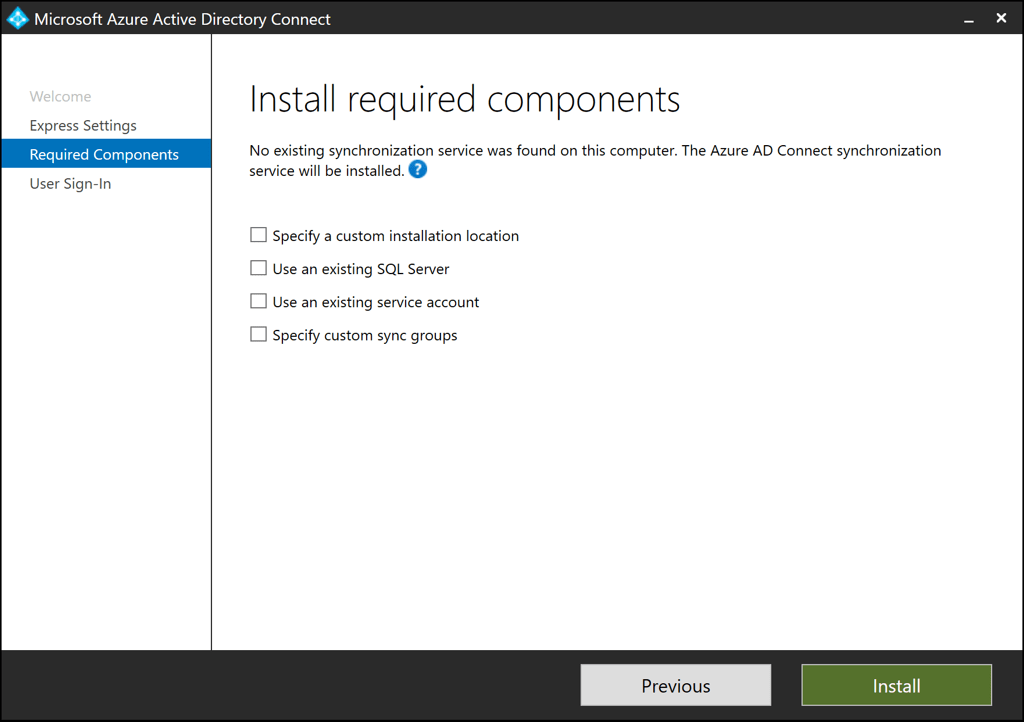
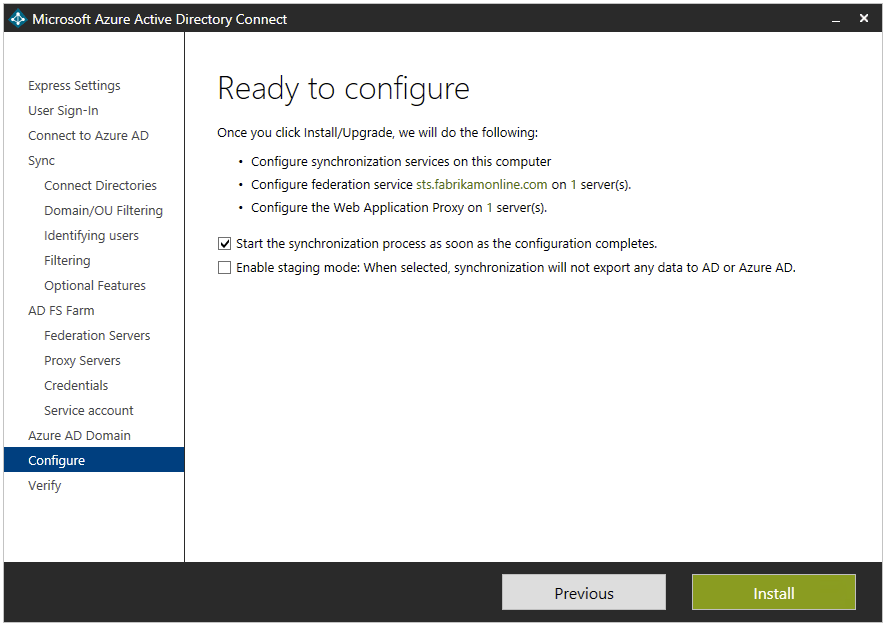
Step 8: Begin the installation process.
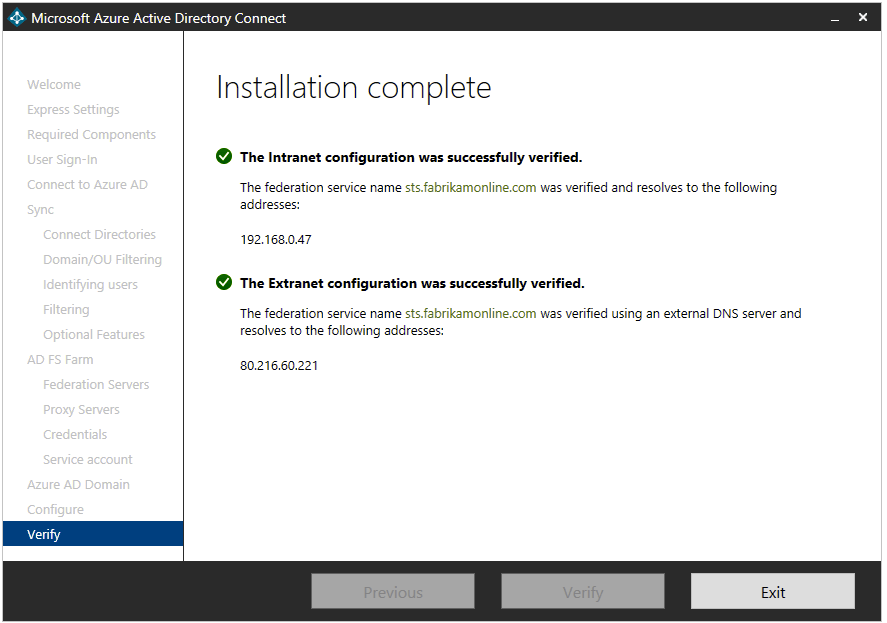
Step 9: Configuration complete!
AD Connect Staging Mode (Optional) – AD Connect in staging mode is a crucial safety net that serves as an alternative, in case your primary AD Connect Server goes down. It imports data from AD DS, but does not export to Azure AD and vice versa. This ensures smooth failover with identical configurations on the primary and staging server.
Conclusion:
In conclusion, introducing the Azure AD Connect tool into your IT infrastructure can significantly increase efficiency and streamline your company’s systems. It’s designed to build a reliable connection between your on-prem Active Directory and Azure Active Directory with a user-friendly approach. Be it creating a seamless login experience for your users, increasing directory synchronization, or ensuring data consistency, Azure AD Connect serves the purpose.
Author: Prabhat, is a seasoned IT professional, boasting over a decade of experience in the field of Operations and Infrastructure Support. His expertise spans across Azure Cloud and Windows on-prem platforms. A fervent enthusiast of Azure, he backs up his passion with a wealth of knowledge underlined by multiple Azure certifications.
#Azure #AzureAD #Microsoft #Mslearn #Training

Leave a comment